Sure-Jell Cooked Jelly Instructions: A Comprehensive Guide
Discover the art of preserving fruit’s vibrant flavors with this detailed guide, focusing on Sure-Jell’s role in creating perfectly set, delicious jellies, especially loquat varieties.
Learn how to transform fresh loquats – or other fruits – into delightful spreads, utilizing traditional methods and modern techniques for a successful canning experience.
Understanding Sure-Jell and Jelly Making
Sure-Jell is a powdered pectin product specifically designed to assist in jelly and jam making, particularly when using fruits naturally low in pectin. Historically, successful jelly relied heavily on fruits with inherent pectin levels, like apples or citrus. However, many delicious fruits, such as peaches, apricots, and notably loquats, require a pectin boost for a firm set.
Jelly making, at its core, is a preservation technique. It transforms fresh fruit juice into a semi-solid spread, extending its shelf life significantly. Sure-Jell simplifies this process by providing a standardized amount of pectin, reducing the variability often encountered with natural pectin sources. The product works by creating a network that traps the fruit juice, resulting in the characteristic jelly texture.
Traditional methods often involved lengthy cooking times to extract sufficient pectin from the fruit itself. Sure-Jell allows for quicker, more predictable results, making homemade jelly accessible to a wider range of cooks. Understanding the role of pectin is crucial for successful jelly making, and Sure-Jell provides a reliable solution for consistent outcomes.
The Science Behind Jelly Setting
Jelly setting isn’t magic; it’s chemistry! Pectin, acid, and sugar are the key players. Pectin, a naturally occurring carbohydrate in fruits, forms a gel network. However, pectin needs acid to activate its gelling ability. Sure-Jell often contains added acid, or recipes call for lemon juice, to ensure proper activation.
Sugar isn’t just for sweetness; it’s vital for the gel structure. It draws water away from the pectin, concentrating it and strengthening the network. The correct sugar-to-fruit ratio is therefore critical. Too little sugar, and the jelly won’t set; too much, and it can become syrupy or crystallize.
Boiling the mixture creates the conditions for pectin to interact with sugar and acid, forming the gel. As the mixture cools, the network solidifies. Loquat jelly, like others, relies on this precise balance. Understanding these interactions allows for adjustments based on fruit acidity and pectin levels, ensuring a perfect set every time.
Essential Equipment for Jelly Making
Successful jelly making requires specific tools. A large, heavy-bottomed stainless steel pot is crucial for even heating and preventing scorching during the boiling process. Avoid reactive metals like aluminum. You’ll need a sturdy wooden spoon or heat-resistant spatula for consistent stirring.
For juice extraction, a fruit press, cheesecloth, or jelly bag are essential for separating pulp from clear juice – vital for a clear jelly, especially with fruits like loquats. A glass measuring cup is needed for accurate ingredient measurements, particularly sugar and pectin.
Canning demands specialized equipment: canning jars with two-piece lids (lids and rings), a jar lifter for safe handling of hot jars, a wide-mouth funnel for clean filling, and a water bath canner with a rack. A kitchen thermometer is also highly recommended for accurate temperature monitoring during setting tests.
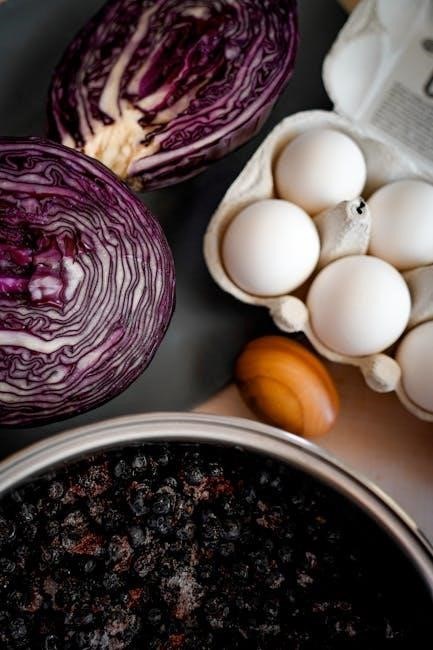
Ingredients for Classic Fruit Jelly
Classic fruit jelly relies on a harmonious blend of ripe fruit, measured sugar, and Sure-Jell pectin, creating a delightful spread with perfect consistency and flavor.
Fruit Selection: Best Choices for Jelly
Selecting the right fruit is paramount for exceptional jelly. While many fruits work beautifully, some lend themselves particularly well to the jelly-making process. Berries – strawberries, raspberries, blackberries, and currants – are classic choices, offering vibrant colors and intense flavors. Pome fruits like apples and pears also create lovely, clear jellies, though they may require a bit more pectin.
Stone fruits, such as peaches and apricots, can be used, but often benefit from being combined with higher-pectin fruits to ensure a good set. Interestingly, less common fruits like loquats, as highlighted in recent recipes, present a unique and delightful alternative, offering a subtly sweet and floral flavor profile.
Consider the natural pectin content of your chosen fruit; lower-pectin fruits will require more Sure-Jell to achieve the desired consistency. Fully ripe, but not overripe, fruit yields the best flavor and color. Remember, the quality of your ingredients directly impacts the final product!
Sugar’s Role in Jelly Preservation
Sugar isn’t merely a sweetener in jelly making; it’s a crucial component of preservation. Its primary function is to draw water from the fruit, creating a concentrated mixture that inhibits microbial growth, preventing spoilage. This high sugar concentration effectively acts as a preservative, extending the shelf life of your homemade jelly.
Furthermore, sugar contributes significantly to the jelly’s texture. It interacts with pectin to form the characteristic gel structure, providing that delightful, firm set. The correct sugar-to-fruit ratio is vital; too little sugar can result in a runny jelly, while too much can lead to crystallization.
Using granulated sugar is standard, as it dissolves readily and doesn’t cloud the jelly’s clarity. Avoid using alternative sweeteners, as they may not provide the necessary preserving qualities or affect the gel formation process. Precise measurement is key for both flavor and safety!
Pectin: The Setting Agent Explained
Pectin is the naturally occurring substance responsible for giving jelly its firm, yet tender, gel structure. Found within the cell walls of fruits, its concentration varies depending on the fruit type and its ripeness – generally higher in tart fruits like apples and citrus.
Sure-Jell provides a standardized source of pectin, ensuring consistent results, especially when working with fruits naturally low in pectin, such as loquats. It works by creating a network that traps the fruit juice, solidifying it into a jelly.
The type of pectin in Sure-Jell requires sugar to activate its gelling properties. This is why precise sugar measurements are so critical when following cooked jelly recipes. Understanding pectin’s role allows for successful jelly making, transforming fruit juice into a delightful, spreadable preserve.
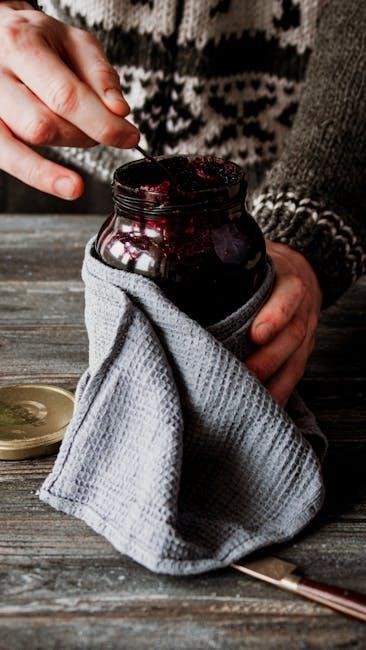
Step-by-Step Cooked Jelly Instructions
Embark on a delightful journey of jelly making! Follow these clear, concise steps to transform fresh fruit juice into a shimmering, flavorful spread, perfect for enjoying.
Preparing the Fruit & Juice Extraction
Begin with selecting ripe, yet firm, loquats – or your chosen fruit – ensuring they are free from blemishes or spoilage. Thoroughly wash the fruit under cool, running water, removing any dirt or debris. For loquats, as suggested by botanical contributions, choose full-sized specimens that still possess some firmness.
Next, prepare the fruit for juice extraction. This typically involves removing any pits, stems, or cores. Loquats, for instance, require pitting. Once prepped, the fruit needs to be crushed or chopped to facilitate juice release. Traditional methods involve placing the fruit in a jelly bag or several layers of cheesecloth.
Allow the juice to drip naturally; avoid squeezing, as this can result in a cloudy jelly. Alternatively, a food mill or steamer can be employed to extract the juice efficiently. The goal is to obtain clear, pulp-free juice, which is the foundation of a beautifully set jelly. Measure the extracted juice accurately, as this measurement is crucial for the subsequent steps involving sugar and Sure-Jell.
Combining Fruit Juice, Sugar & Sure-Jell
In a large, heavy-bottomed saucepan, combine the measured fruit juice with the appropriate amount of granulated sugar, as dictated by the Sure-Jell package instructions. The sugar concentration is vital for both flavor and preservation. Stir the mixture thoroughly to ensure the sugar dissolves completely before proceeding.
Next, carefully add the measured amount of Sure-Jell pectin to the juice and sugar mixture. Ensure the Sure-Jell is evenly dispersed throughout the liquid; stirring constantly prevents clumping. The pectin acts as the setting agent, crucial for achieving the desired jelly consistency.
It’s important to follow the precise ratios outlined in the Sure-Jell instructions, as variations can affect the final product. Once all ingredients are combined, stir vigorously to create a homogenous mixture, ready for the crucial boiling stage. This careful combination sets the stage for a successful jelly-making process.
The Boiling Point: Achieving the Right Consistency
Bring the fruit juice, sugar, and Sure-Jell mixture to a full rolling boil over high heat, stirring constantly to prevent sticking and scorching. A “full rolling boil” is defined as a boil that doesn’t stop bubbling even when stirred. This intense heat is essential for activating the pectin and ensuring proper setting.
Continue boiling vigorously for precisely the time specified in the Sure-Jell recipe – typically one minute. Accurate timing is critical; under-boiling may result in a soft set, while over-boiling can lead to a tough jelly. Stir continuously throughout the boiling process to distribute heat evenly.
Remove the saucepan from the heat immediately after the specified boiling time. The mixture will appear liquid at this stage, but will thicken as it cools. Proceed directly to testing for the jelly set to confirm the desired consistency has been achieved.
Testing for Jelly Set
Confirm your jelly’s readiness using temperature readings or the classic sheet/cold plate tests, ensuring a perfect, spreadable consistency for delightful homemade preserves.
The Temperature Test Method
Achieving the correct temperature is crucial for successful jelly setting when using Sure-Jell. A candy thermometer is your best friend here, providing a precise reading of the boiling mixture. Generally, for jellies made with standard pectin like Sure-Jell, you’re aiming for a temperature of 220°F (104°C) at sea level.
However, altitude plays a significant role! For every 1,000 feet above sea level, subtract 2°F from the target temperature. This adjustment ensures the pectin properly gels, regardless of your location. Consistent stirring during the boiling process is vital to prevent scorching and distribute heat evenly.
Monitor the thermometer closely as the mixture approaches the target temperature. A rapid rise indicates you’re nearing the set point. Remove the pot from the heat immediately once the temperature is reached to avoid overcooking, which can result in a tough jelly. Remember, accuracy is key for a perfect set!
The Sheet Test & Cold Plate Test
Alongside the temperature method, the sheet and cold plate tests offer visual confirmation of your jelly’s setting point. For the sheet test, dip a cool metal spoon into the boiling jelly, then lift it and tilt sideways. If the liquid forms two drops that merge and “sheet” off the spoon, it’s ready.
The cold plate test is equally effective. Before you begin cooking, place a small plate in the freezer. During the final stages, drop a spoonful of hot jelly onto the chilled plate. Return it to the freezer for 30 seconds. Gently push the jelly with your finger; if it wrinkles and forms a skin, it’s set.
These tests are subjective but become easier with practice. Combining both tests with the temperature check provides the most reliable indication of a perfectly gelled jelly, ensuring a delightful spread every time. Don’t hesitate to repeat the tests until you achieve the desired consistency.
Troubleshooting: Jelly Not Setting
If your jelly fails to set, several factors might be at play. Insufficient pectin is a common culprit; ensure you’ve measured Sure-Jell accurately and used the correct amount for your fruit’s pectin level. Underripe fruit contains less natural pectin, necessitating more added pectin.
Conversely, too much fruit juice relative to sugar can also prevent setting. Always adhere to the recipe’s proportions. Insufficient boiling time hinders pectin activation. Ensure a rapid, rolling boil that cannot be stirred down for the specified duration.
Finally, altitude adjustments are crucial. At higher elevations, water boils at lower temperatures, potentially affecting the setting process. Consult Sure-Jell packaging for altitude-specific instructions. If all else fails, you can often re-cook the jelly with additional pectin.
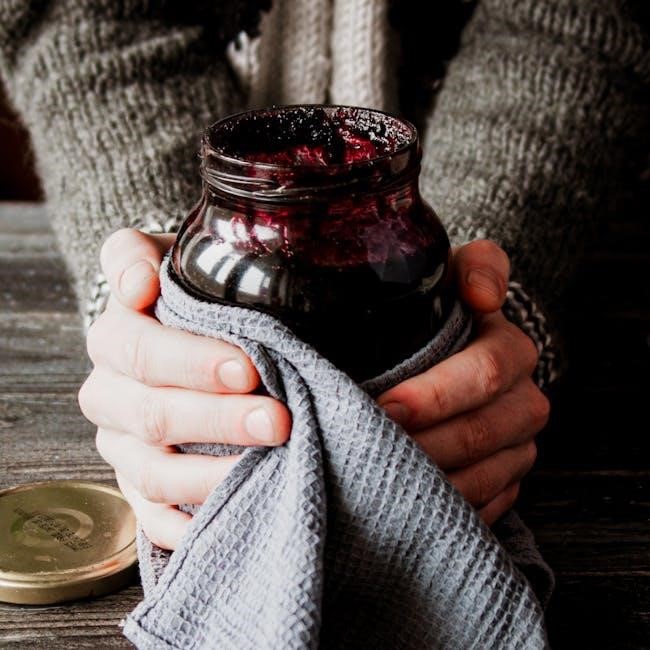
Processing & Canning Jelly
Secure long-term preservation through proper canning techniques; sterilize jars, fill them with hot jelly, and process in a boiling water bath for optimal safety.
Sterilizing Jars & Lids
Prior to filling, meticulous sterilization is crucial for safe jelly preservation. Begin by thoroughly washing jars in hot, soapy water, then rinse completely. Place the clean jars on a rack inside a large pot, ensuring they don’t touch each other.
Cover the jars with water, bringing it to a rolling boil and maintaining that boil for 10 minutes, adjusting for altitude – add one minute for every 1,000 feet above sea level.
Keep the jars hot until ready to fill. Simultaneously, heat the lids in a separate saucepan of hot (not boiling) water. Do not boil the lids, as this can compromise the sealing compound.
Remove both jars and lids carefully using a jar lifter, avoiding contact with the rims. Properly sterilized jars and heated lids are essential to create a vacuum seal during the canning process, preventing spoilage and ensuring a shelf-stable product.
Filling Jars & Leaving Headspace
Carefully ladle the hot, cooked jelly into the sterilized jars, leaving a precise amount of “headspace” – the empty space between the jelly surface and the jar rim. For most jellies, a ¼-inch headspace is recommended; however, always consult the specific Sure-Jell recipe instructions, as variations may apply.
Use a non-metallic spatula or utensil to gently remove any air bubbles trapped within the jelly. Run the spatula around the inside of the jar to release trapped air.
Wipe the jar rims with a clean, damp cloth to ensure they are free of any jelly residue. This is critical for achieving a proper seal.
Center a heated lid on each jar, then apply a canning ring (band) fingertip-tight – not too loose, and not overly tightened. Proper headspace and a clean rim are vital for successful canning.
Water Bath Canning Procedure
Place the filled jars onto a rack within a large stockpot filled with enough boiling water to cover the jars by at least 1 inch. Ensure the jars aren’t touching each other or the sides of the pot, allowing for proper water circulation.
Bring the water back to a rolling boil and process the jars for the time specified in your Sure-Jell recipe. Processing times vary depending on altitude and jar size; consult reliable canning resources for accurate durations.
Once processing is complete, turn off the heat and let the jars sit in the hot water for 5 minutes before removing them. Carefully lift the jars straight up, avoiding tilting, and place them on a towel-lined surface to cool undisturbed for 12-24 hours.
Listen for the “pop” sound as the jars seal, indicating a vacuum has formed. Always check seals before storing.
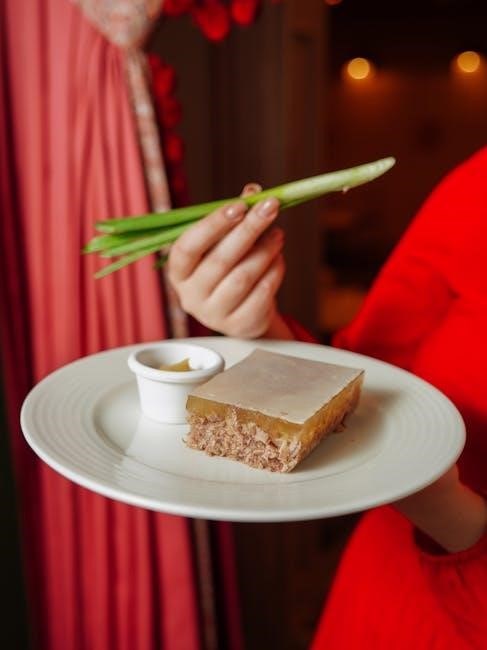
Variations & Flavor Enhancements
Elevate your jelly creations by blending fruits, experimenting with spices like cinnamon or cloves, and introducing delicate extracts for unique flavor profiles.
Using Different Fruit Combinations
Beyond single-fruit jellies lies a world of exciting flavor possibilities! Combining fruits allows you to create complex and nuanced tastes that elevate your homemade preserves. Consider pairing tart fruits like cranberries or raspberries with sweeter options such as peaches or pears to achieve a balanced profile.
Loquats, while delicious on their own, also lend themselves well to blending. Experiment with adding a touch of apricot or plum to enhance their unique flavor. Remember that different fruits contain varying levels of pectin and acidity, which can affect the setting process.
Adjusting the recipe might be necessary when using fruit combinations. Adding a small amount of lemon juice can help boost acidity if needed, while using a slightly increased amount of Sure-Jell can compensate for lower pectin content. Keep detailed notes of your experiments to refine your recipes and discover your favorite blends!
Don’t be afraid to get creative and explore unexpected pairings – the possibilities are endless!
Adding Spices & Extracts
Elevate your jelly creations beyond simple fruit flavor by incorporating aromatic spices and extracts! A dash of cinnamon, nutmeg, or clove can beautifully complement many fruits, adding warmth and depth. Consider a pinch of cardamom for a more exotic touch, particularly with stone fruits like peaches or apricots.
Extracts, such as vanilla, almond, or even a hint of citrus, can also enhance the overall flavor profile. Use them sparingly, as a little goes a long way. When working with loquat jelly, a touch of almond extract can beautifully accentuate its delicate floral notes.

Remember to add spices and extracts during the final boiling stage, allowing their flavors to meld with the fruit and Sure-Jell. Experiment cautiously, starting with small amounts and tasting as you go. Detailed notes will help you recreate your perfect spiced jelly every time!
Enjoy the art of flavor layering and create truly unique preserves!
Loquat Jelly Recipe Adaptation
Loquats, with their unique sweet-tart flavor, make a delightful jelly, but require a slight adaptation of standard recipes. Select firm, ripe loquats, as those that are too soft will yield a cloudy jelly. Washing and removing any seeds and skins is crucial for clarity and texture.
Due to loquats’ lower pectin content compared to fruits like apples, you may need to increase the amount of Sure-Jell slightly – follow package directions carefully, potentially adding an extra teaspoon per batch. Ensure thorough juice extraction; pressing the cooked loquat pulp through cheesecloth yields the most juice.
A botanist’s contribution to the University of Southern California Digital Folklore Archives highlights late May as prime ripening time. Strain the juice meticulously, measuring accurately before combining with sugar and Sure-Jell. This adaptation ensures a beautifully set, flavorful loquat jelly!
Enjoy this unique and delicious preserve!